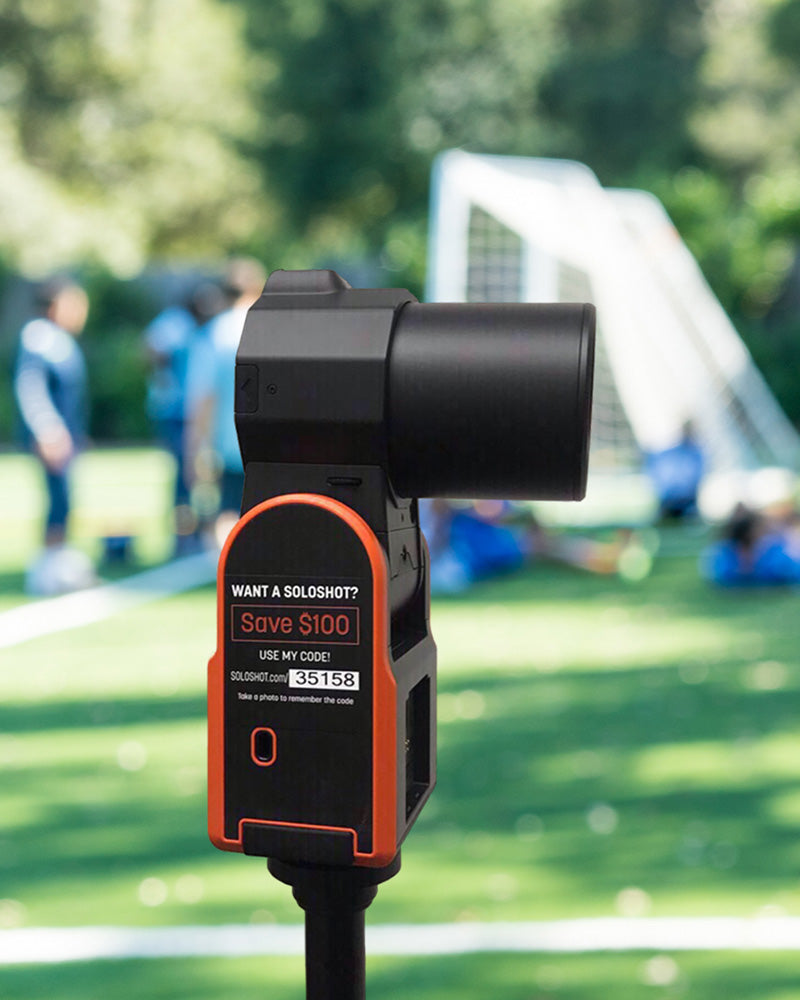
Set up in a location with a clear view of the sky.
Have you updated to the newest software?
Latest Software: Version 3.2.15
BACK TO
GETTING STARTEDIMPORTANT
Once you have established your ideal location, (outdoors with a clear view of the sky) turn on your Tag(s) first, before setup. This will ensure the Tag has time to establish a strong GPS signal.
Things to Know Before Tracking
-
Moving the Base
No Problem. It is possible to reposition the Base at any time. Simply pick up the Base (and Tripod) and move it to a new location. -
Re-Calibration After Moving
If tracking is on: Picking up the Base will automatically pause tracking and recording. Once stable, the Base will re-calibrate and resume tracking and/or recording
If tracking is paused: The Base will re-calibrate once the user resumes tracking. -
Tracking Distance
Minimum Distance: The Base is optimized to track Tags at least 30 feet away. When tracking Tags inside a 30 feet radius, the Base may temporarily lose the subject.
Maximum Distance: Up to 2,000 feet away. If Tags fall out of range, the Base will become idle, or track the next available tag in multi-mode.
Using the Track App
-

01. Home Screen/Track App
Within the HOME SCREEN, tap TRACK to enter the Track App. -

02. Track Button
Tap the TRACK button.
If “Ask to Track” was selected when setting up your Tag or no Tag is detected, follow the onscreen instructions. -

03. Tracking Action Sheet
This is the tracking action sheet, which allows you to either begin tracking, or change tracking settings.
Select TRACK. -

04. Track Modes
Select the TRACK MODE that best matches your activity.
Tap CONTINUE to begin calibrating the system. -

05. Calibration
The Base and Camera will spin and tilt for about one minute as it calibrates the sensors. -

IMPORTANT
Before beginning your activity, we recommend that you walk back and forth in front of the Camera a few times in the area where you will be performing your activity. This will allow the camera’s smart tracking system to center you in the screen.
Calibrating
-

Successful Calibration
Once calibration is successful, your Base will automatically begin tracking the selected Tag(s).
Other successful calibration indicators:
• The Camera viewfinder appears on the screen.
• The LED at the front of the BASE blinks green.
If every selected Tag indicates they do not wish to be tracked, then the Base will be idle. -

IMPORTANT
SOLOSHOT3 is designed to track subjects outside a 30 ft. radius. If the subject is inside this radius, tracking may not work properly. -

Problem Detected
Calibration may fail due to poor GPS signal or local magnetic interference. In this case, follow the on-screen instructions. Set up in a location with a clear view of the sky.
DO NOT set-up near:
• sources of magnetic interference
• high voltage power lines
• radar/radio jamming equipment
• telecommunications towers
These could interfere with the communication system. -

Green Indicator LED States
LED is highly directional and changes brightness with distance. If you can see it, the Base is pointing at you and you are within range.
Slow Blinking
Base is actively tracking. No problems detected.
Rapid blinking or No blink
Problem detected. Return to the Base immediately and resolve the issue via on-screen instructions.
Wearing the Tag
-

Snapping In
Snap the Tag into the Armband Clip with the button side aligned with the clip window. -

Hear the “Click”
You will hear a distinct click when Tag is in place.
Check the alignment and adjust if necessary. -

Buttons Up
Always wear the Tag with buttons facing upward.
The Viewfinder + Tag Screen
-

Viewfinder
1. Tag Manager
Displays how many Tags are being tracked. Tap to navigate to the Tag Manager.
2. Track
Start or stop tracking.
3. Record
Start or stop recording.
4. LIVE
Start or stop live streaming.
5. Status Bar
Displays Wi-Fi strength and battery level.
6. Pulldown Menu
Access the home screen, Wi-Fi, camera controls, and settings.
7. SD Card Indicator
Available SD Card Space and record time -

Viewfinder/Pulldown Window
8. SD Card Storage Space
Displays how much recording time or number of photos remain.
9. Home
Exits the Track App, ends tracking/recordingand takes you back to the Home Screen.
10. Wi-Fi
Opens WiFi settings.
11. Refine
Allows you to manually adjust the framing of the the subject in the viewfinder.
12. Settings
Opens the Settings window, allowing you to change camera mode and tracking settings. -

Using the Tag Screen
1. Tag Name
Displays the name given to Tag when registered.
2. Battery Level
Displays the remaining battery level.
3. Tracking Status
Displays whether the TAG would like to be tracked.
4. GPS Status
Displays the status of the TAG’s GPS signal.
5. Record
Displays if TAG would like to be recorded.
Pause and Resume Tracking
-

IMPORTANT
A good GPS signal is required for tracking.
Be sure to power-on the Tag and make sure it has a clear view of the sky before beginning your activity. -

From the Tag
Double tap the (+) button to pause or resume tracking.
NOTE: The system is smart. If there are no other Tags to track, the Base will automatically stop recording or tracking. Users can override this from the Base. -

From the Base
Tap the TRACK button to pause or resume tracking.
Start and Stop Recording
-

From the Tag
Press and hold the (+) button to toggle record on or off. -

From the Base
Tap the RECORD button to start or stop recording.
Start and Stop Live Streaming
-

WARNING
All live streams are viewable to the public on the SOLOSHOTapp. -

Requirements
Must be connect to Wi-Fi or Hot Spot.
Internet Speed Requirements:
• A minimum of 5 Mbps upload speed
• Stream quality depends on the internet connection speed.
• Regardless of recording resolution, the live stream video is compressed at 720p30.
The Base must be calibrated. -

Terms & Conditions
Your live streams appear on the SOLOSHOTapp and app.soloshot.com. Be sure to download the SOLOSHOTapp on the App Store or Google Play!
By streaming, you agree to all terms and conditions including privacy as described at soloshot.com/terms. -

Going LIVE
Tap the LIVE button. -

Action Sheet (Settings)
The live streaming action sheet allows you to begin live streaming or change live stream settings.
If SETTINGS is selected:
• Add a Title and Description to your stream. This information will appear on your stream in the SOLOSHOTapp.
NOTE: If the Title is unchanged, it will default to “Live with #SOLOSHOT3” -

Go Live
From the Action Sheet, Select GO LIVE.
The Base will attempt to connect to the SOLOSHOT network.
Live Stream Success: While live stream is active, the track app interface shows the LIVE highlighted in red (above).
Live Stream Failed: Check your internet connection and try again.
Stop Live Streaming: Tap the red LIVE button (above), then tap END LIVE.


